5 Tips for Using a GoPro With Dogs

I've outsourced much of the legwork for my past few videos to Eko and Penny. With a GoPro strapped to their backs, the pups let me see adventures from a fun new perspective
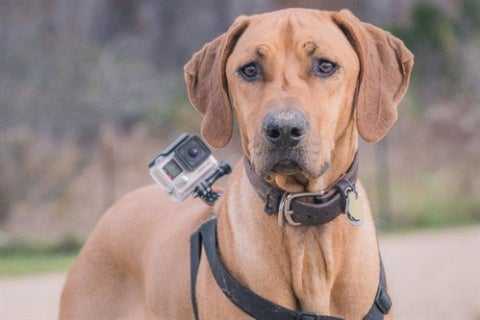
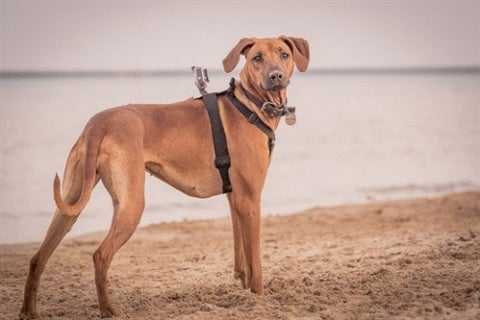
Best of all, the pups don't mind the camera gear one bit
A number of people have asked questions about setup/settings, so I thought I'd share what I've learned so far. I'm no expert, but I've realized a few key points to get the best, useable video from the dogs.
1. Find the right harness
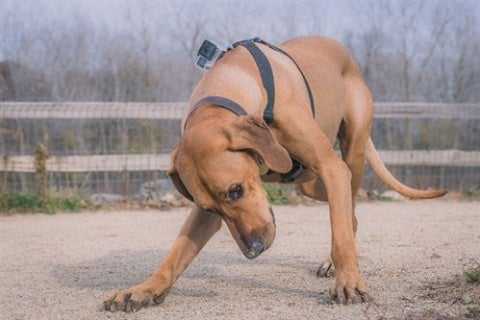
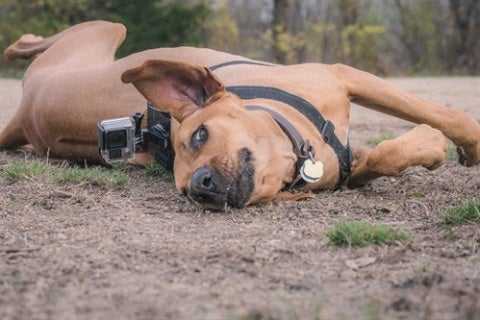
You can't put a GoPro on your dog if you can't...well, put a GoPro on your dog. Which is easier said than done. GoPro sells a dog-specific harness, but it's received mixed reviews about it's durability and effectiveness.
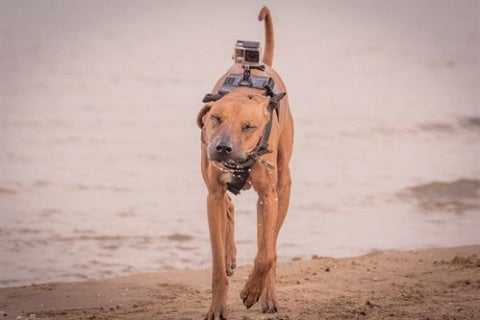
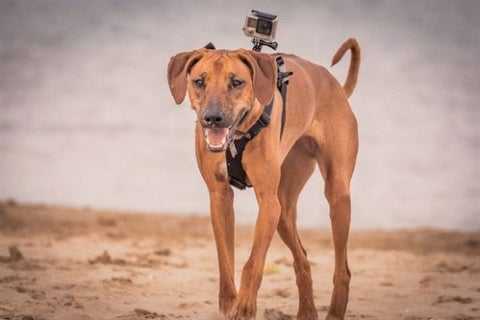
I've had better luck adapting the standard chest mount to sit high on the pups' backs. When looking at harnesses, be mindful of your dog's size. Also, be ready to tinker with its fit in order to find a snug, comfortable fit.
2. Be ready for bad footage. A lot of it
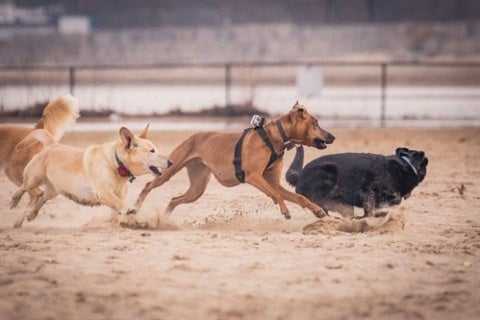
When I hold the camera and purposefully aim it, most of my videos still need major editing. So when it’s strapped to a dog’s back? Prepare for a whole lot of useless footage. If you want to put a GoPro on your pup, you should be prepared to do some serious sifting through aimless footage of the sky, random butt-sniffs, etc.
But stick with it and I promise you’ll find gold.
3. Shoot video at a high FPS
GoPros shoot video in a whole slew of different resolutions/settings. The impulse is to shoot in the highest resolution (4K) but 4K footage is unwatchable when shot from the perspective of a galloping pup.
Instead, set your video mode to shoot at a higher FPS (frames per second) like 1080 x 120, or 720 x 240. A high frame rate allows for super smooth slow-motion playback, which eliminates frenetic camera shake.
4. Editing software is your best friend
You don’t need expensive tools and professional skills to make great GoPro videos, but you do need a few basic post-processing tools.
First, I highly recommend Microsoft Hyperlapse (There’s a free trial version). Hyperlapse uses some pretty incredible stabilization technology to create smooth timelapses of shaky footage.
Second, download any basic video editing software. All you need to know is how to cut you video into the clips you want and how to adjust the speed of your video for slomo. Both of which are very straightforward to learn.
5. Embrace the challenge!
I remember how excited I was when I tried the GoPro on Eko's back for the first time. It was a bit disappointing when I discovered the footage was entirely of the sky because I had the camera angled incorrectly.
It takes trial-and-error and patience to get good results, but the juice is well worth the squeeze!
Like I said, I'm still learning myself, but if you have any questions about shooting with a GoPro (or differences between camera models) just let me know and I'll do my best to point you in the right direction.
Note: Our sleigh pulled back into Chicago late last night, just ahead of today's storm. I'll be catching up on all correspondence today. Hope everyone had a great holiday, can't wait to share the highlights of ours.